HashiCorp Vault is a powerful tool designed to manage secrets and protect sensitive data. From API keys and tokens to passwords, Vault encrypts and stores your confidential information, making it accessible only to authorized users. With features like secure secret storage, dynamic secrets generation, data encryption, and fine-grained access control, Vault has become an essential part of modern infrastructure management.
Glasskube Vault takes this a step further by offering Vault as a fully managed service. By handling the installation, configuration, and maintenance of Vault, Glasskube allows you to focus on what truly matters: securing your applications and data.
Vault’s Key Advantages
- Secure Secret Storage: Encrypts and stores secrets with strict access controls.
- Dynamic Secrets: Generates secrets on-demand, minimizing the risk of exposure.
- Data Encryption: Ensures the data in transit and at rest are encrypted.
- Access Control: Manages fine-grained access to secrets through policies.
How to Access Glasskube Vault on Exoscale
Getting started with Glasskube Vault is incredibly easy on the Exoscale Portal. Follow these simple steps:
- Click on the Marketplace tab on the Exoscale Portal.
- Find and subscribe to Glasskube Vault.
- An email will be sent to you containing instructions and a link to initialize your Vault.
Initialization Process
The initialization process includes specifying a key and a number of shares to split the key into. This additional security measure requires multiple parties to perform critical actions, like unsealing the vault. Once these steps are completed, your Vault will be fully configured and ready for use!
Using Glasskube Vault with Exoscale SKS
Integrating Glasskube’s managed Vault offering with Exoscale’s Managed Kubernetes Service (SKS) streamlines the handling of secrets within your Kubernetes environment. Leveraging Vault’s robust secret management along with Exoscale’s Kubernetes service simplifies the deployment and scaling of applications.
The following steps are based on the official docs in regards to integrating a Kubernetes cluster with an external Vault.
Prerequesites
Before diving into the technical details, ensure you have:
- A basic understanding of Kubernetes.
- Access to an Exoscale SKS cluster with security groups correctly configured as per the Quick Start Guide.
- The Vault CLI installed on your local machine (e.g., Mac users can use
brew install vault). - Helm CLI (Homebrew users can use
brew install helm).
Connecting Vault with Kubernetes
Exoscale SKS (Managed Kubernetes Service) integrates seamlessly with Vault. Here’s a step-by-step guide to connecting the two.
Step 1: Set the Vault Address
Specify the address of your managed Vault instance in your local shell:
export VAULT_ADDR='https://vault.YOURORG.exo.gkube.eu'
Step 2: Install Vault in the Kubernetes Cluster
Install Vault using Helm, while specifying the external Vault installation:
helm repo add hashicorp https://helm.releases.hashicorp.com
helm repo update
helm install vault hashicorp/vault \
    --set "global.externalVaultAddr=$VAULT_ADDR"
Step 3: Unseal and Login to Vault
Use the key received during initialization to unseal the Vault, and then log in locally:
vault operator unseal
vault login
Step 4: Create a Kubernetes Secret for Vault Service Account (required with Kubernetes 1.24+)
cat > vault-secret.yaml <<EOF
apiVersion: v1
kind: Secret
metadata:
  name: vault-token-g955r
  annotations:
    kubernetes.io/service-account.name: vault
type: kubernetes.io/service-account-token
EOF

kubectl apply -f vault-secret.yaml
Step 5: Enable Kubernetes Authentication
Save the secret name and verify it:
VAULT_HELM_SECRET_NAME=$(kubectl get secrets --output=json | jq -r '.items[].metadata | select(.name|startswith("vault-token-")).name')

kubectl describe secret $VAULT_HELM_SECRET_NAME
Enable Kubernetes authentication and set up the connection parameters:
vault auth enable kubernetes

TOKEN_REVIEW_JWT=$(kubectl get secret $VAULT_HELM_SECRET_NAME --output='go-template={{ .data.token }}' | base64 --decode)

KUBE_CA_CERT=$(kubectl config view --raw --minify --flatten --output='jsonpath={.clusters[].cluster.certificate-authority-data}' | base64 --decode)

KUBE_HOST=$(kubectl config view --raw --minify --flatten --output='jsonpath={.clusters[].cluster.server}')

vault write auth/kubernetes/config \
     token_reviewer_jwt="$TOKEN_REVIEW_JWT" \
     kubernetes_host="$KUBE_HOST" \
     kubernetes_ca_cert="$KUBE_CA_CERT" \
     issuer="https://kubernetes.default.svc.YOURCLUSTERID.cluster.local"
Replace YOURCLUSTERID with the ID of your Exoscale SKS cluster.
Demonstration: Storing and Retrieving a Secret
In this section, we’ll create a secret inside Vault and demonstrate how to retrieve it using a Pod in your Kubernetes cluster.
Step 1: Create a Secret in Vault
Enable a Key-Value secret engine and store a demonstration secret:
vault secrets enable -path=app kv
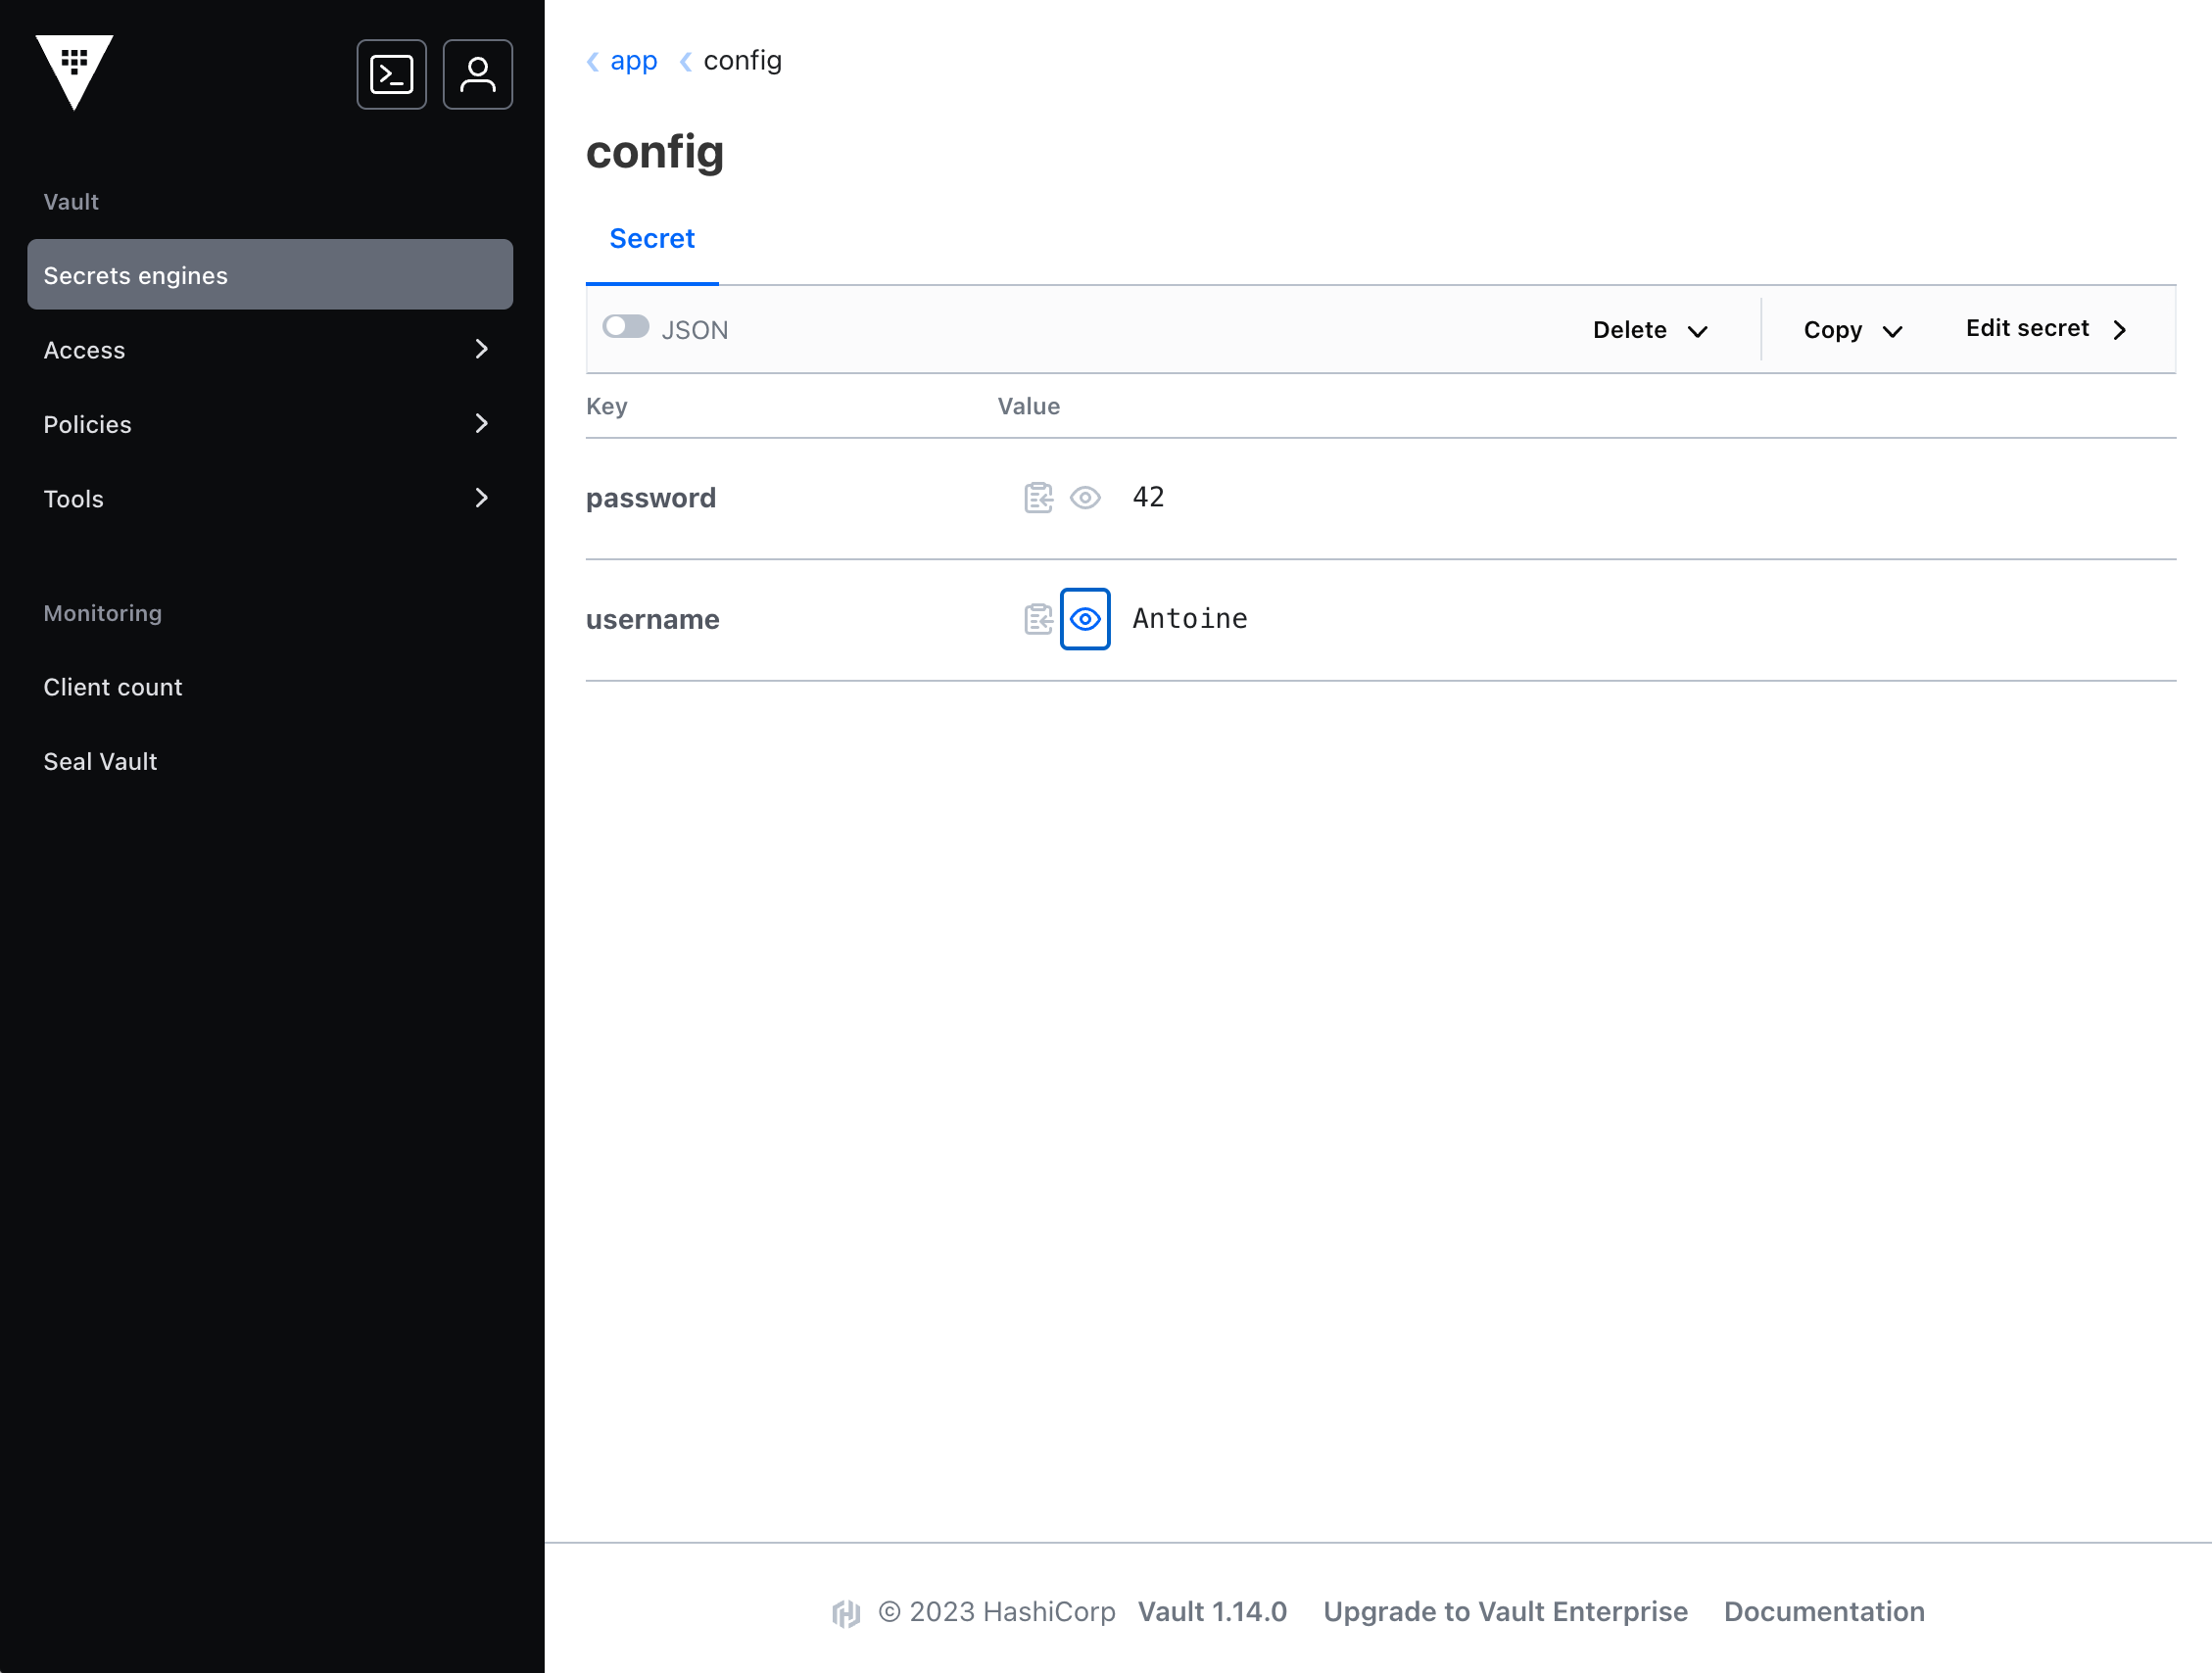
vault kv put app/config username='Antoine' password='42'
You will also be able to see the secret inside the Vault UI.

Step 2: Create Vault Policy and Kubernetes Role
Create a policy allowing read access to the secret and a Kubernetes authentication role connecting everything:
vault policy write internal-app - <<EOF
path "app/config" {
   capabilities = ["read"]
}
EOF

vault write auth/kubernetes/role/devweb-app \
     bound_service_account_names=internal-app \
     bound_service_account_namespaces=default \
     policies=internal-app \
     ttl=24h
Step 3: Create Kubernetes Service Account
kubectl create sa internal-app
Step 4: Deploy the Demo Pod
Create a demo Ubuntu Pod, and mount the secrets:
cat > pod.yaml <<
apiVersion: v1
kind: Pod
metadata:
  name: test-app
  labels:
    app: test-app
  annotations:
    vault.hashicorp.com/agent-inject: 'true'
    vault.hashicorp.com/role: 'devweb-app'
    vault.hashicorp.com/agent-inject-secret-credentials.txt: 'app/config'
spec:
  serviceAccountName: internal-app
  containers:
    - name: app
      image: ubuntu
      command: ["/bin/bash"]
      args: ["-c", "while true; do sleep 30; done;"]
      tty: true
EOF
Apply the Pod and access it:
kubectl apply -f pod.yaml

# Wait until the app is ready
kubectl exec -it test-app -- /bin/bash
Inside the Pod, check if you can fetch the secret:
root@devwebapp-with-annotations:/# cat /vault/secrets/credentials.txt
password: 42
username: Antoine
Alternative Methods for Accessing Secrets
Apart from the Vault agent demonstrated above, other methods can be used to access secrets.
Vault Operator
The Vault Operator provides a Kubernetes-native experience for managing Vault clusters. By leveraging custom resources, you can define and manage Vault’s lifecycle, policies, and more. Utilizing an operator could simplify the integration between Vault and your Kubernetes workloads.
Using Vault’s API Directly
Applications can directly interact with Vault’s API to fetch secrets. This method provides more control and can be suitable for complex scenarios where the predefined integrations might not be sufficient.
Conclusion
Managing Vault in a high-availability mode is complex, involving many moving parts that require continuous oversight. Glasskube’s managed Vault service elegantly addresses this challenge. By taking care of all the underlying complexities of hosting Vault—including replication, failover, and infrastructure management—Glasskube Vault offers a dependable and highly available solution for secret management. The seamless integration and ease of use, as demonstrated with Exoscale’s SKS, make it a go-to solution for modern security needs.


