When we refer to containers, we now usually refer to the combination of cgroups, namespaces, and a packed system image. To store and distribute these packed system images, container runtime tooling such as Docker relies on registries to retrieve named images.
While numerous project are already available in public registries, a few cases mandate relying on a private container image store:
- A registry close to workloads will avoid tying a service’s availability to that of a third-party services.
- Using containers as build artifacts for proprietary code require a private registry.
A central docker registry can serve as the coordination tool for the developers, continuous integration, and configuration management.
To top it off, there is something to be said for the bond-villain feel of storing your production artifacts in a former military atomic bunker deep in the Swiss mountains.

There are multiple ways to deploy the registry. Since the storage is decoupled from the registry service, several registries may be deploy pointing to a single bucket. This can be useful to provide fast local registries for build servers for instance.
Read on for a detailed walk-through of a Docker compose based installation on Exoscale.
Install prerequisites
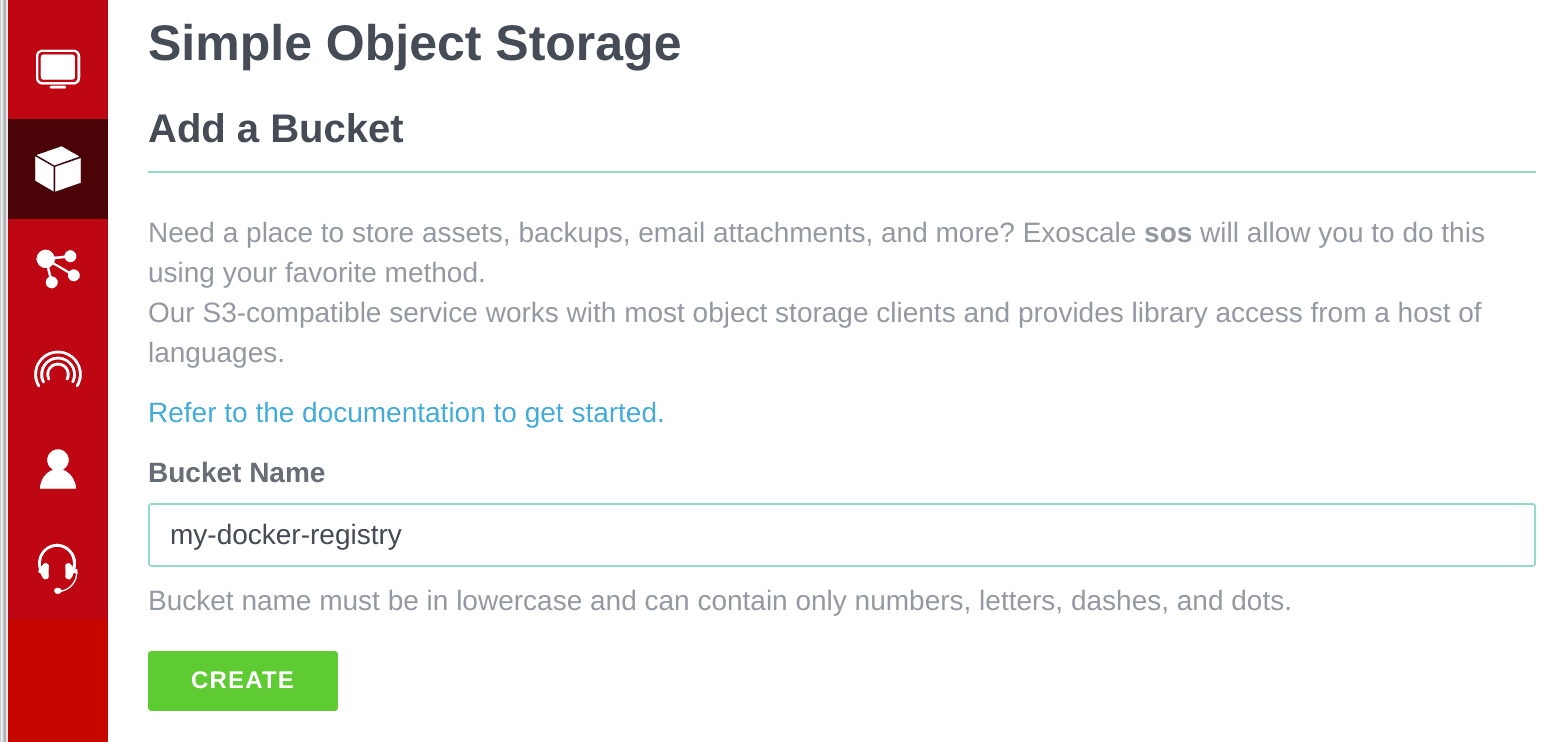
To get started, we will start with an Exoscale account and an object storage bucket.
- Sign-up here, if you don’t have an account yet;
- Then create your bucket in the UI.
Then, a working installation of Docker CE and Docker compose
Configure the containers
The Docker registry runs best with a Redis cache. A proper docker-compose.yml does it.
# docker-compose.yml
version: "3"

services:
  registry:
    image: registry:2.6
    ports:
      - "5000:5000"
    volumes:
      - ./config.yml:/etc/docker/registry/config.yml
    links:
      - redis
    environment:
      REGISTRY_HTTP_SECRET: s3cr3t  # <-- change me
      GODEBUG: http2client=0        # deactivates HTTP/2

  redis:
    image: redis:4-alpine
Configure registry
The docker-compose.yml file above mounts the local file config.yml to configure the registry.
As you can see there are three parameters you need to customize. You can find the keys in the portal under: Account > Support > API keys.
# config.yml
version: 0.1

log:
  fields:
    service: registry

http:
  addr: :5000
  headers:
    X-Content-Type-Options: [nosniff]

storage:
  cache:
    blobdescriptor: redis
  s3:
    accesskey: "API Key: EXO..."  # <-- change here,
    secretkey: "Secret Key"       # <-- here,
    bucket: "my-docker-registry"  # <-- and probably here too
    region: "ch-dk-2"
    regionendpoint: "https://sos-ch-dk-2.exo.io"

redis:
  addr: redis:6379

health:
  storagedriver:
    enabled: true
    interval: 10s
    threshold: 3
For more configuration options, refer to configuring a registry on the official documentation.
Deploy containers
With the prerequisites and the configuration in place. Let’s deploy our first registry container.
$ docker-compose up
That’s it. With this, you can access your private registry anywhere you can run a Docker container.
Push an image
Let’s try pushing an image to your registry, for example Alpine Linux.
# Pull an image, e.g. alpine,
$ docker pull alpine

# tag it to use your private registry
$ docker tag alpine localhost:5000/alpine

# and push it.
$ docker push localhost:5000/alpine
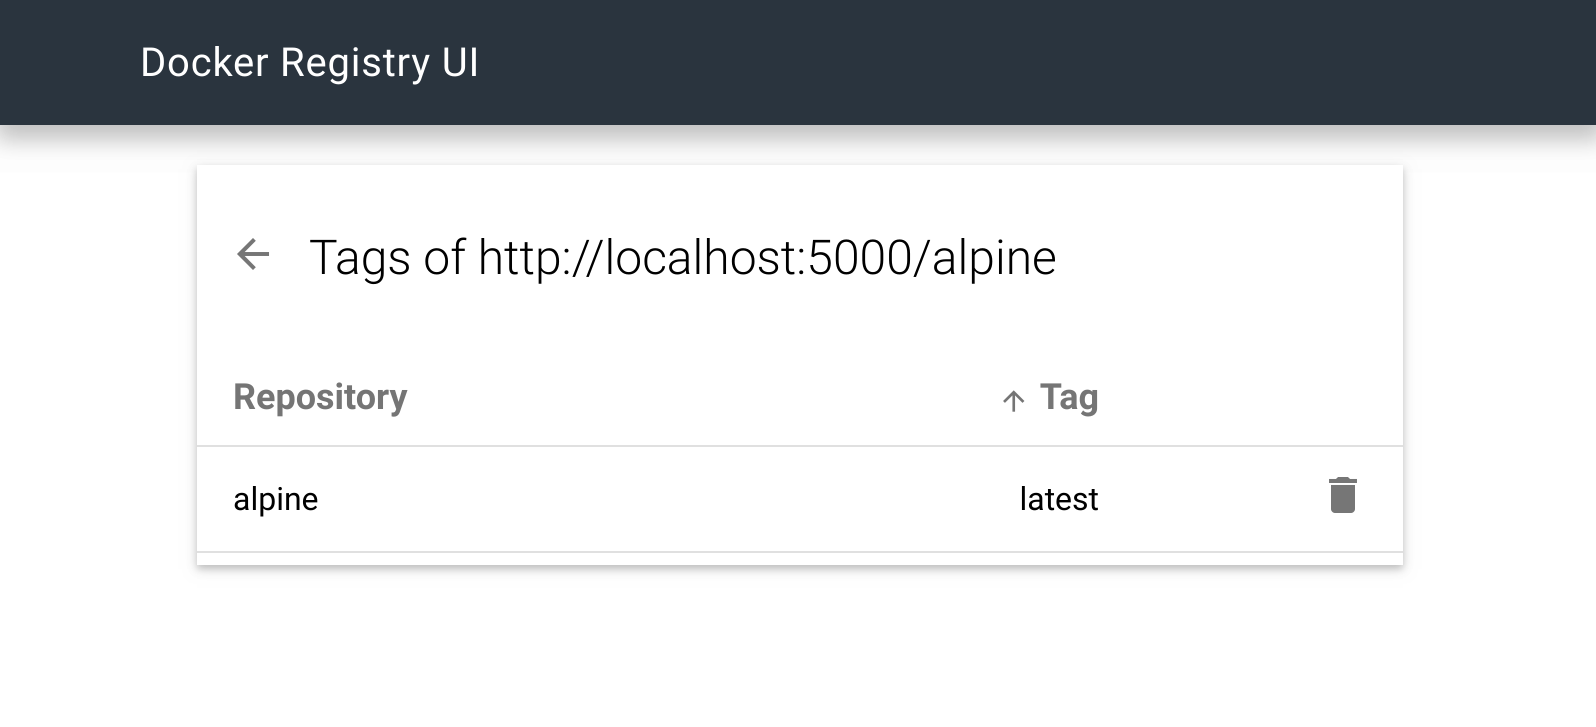
You bucket now contains a folder docker containing the registry files. By
default, a bucket is private. Using Jones Magloire’s Docker Registry
UI, you even get something nice to show.
Exposing a Docker Registry to the Internet
The issue with this solution is that no security is in place. To remain safe, you have to run a Docker registry everywhere you need it, rely on the Object Storage authentication system, and be super cautious about sharing the API key and secret.
To share the Docker Registry across a team and expose it on the Internet, a good
security layer is required. By default, it is fully open to anyone and we should
use it that way on localhost and nothing else.
Our proposed solution is to setup TLS (SSL) in order to encrypt the communication channel and client certificates to authenticate the users.
Setting up TLS
For the sake of brevity, we will use self-signed certificates. Paul
Czarkowski’s OMGWTFSSL (pardon my french) is a handy container to
create some. Since localhost causes problem, work on your local IP address. Feel
free to use a public IP address or even a domain name.
# Using the local IP address
$ ip addr
2: eth0
    inet 192.168.0.42

$ mkdir certs

$ docker run --rm \
        -v `pwd`/certs:/certs
        -e SSL_IP="192.168.0.42" \
        paulczar/omgwtfssl

$ ls certs
ca-key.pem  ca.pem  ca.srl  cert.pem  key.csr  key.pem  openssl.cnf
Configuration of the Docker Registry for TLS
We have to adapt the Registry container configuration to listen to the HTTPS
port (443) and have access to the certificates (here mounted as a volume).
   registry:
     image: registry:2.6
     ports:
-      - 5000:5000
+      - 443:5000
     volumes:
       - ./config.yml:/etc/docker/registry/config.yml:ro
+      - ./certs:/etc/docker/certs:ro
     environment:
The Docker Registry configuration (config.yml) requires extra entries
into the http section.
 http:
   addr: :5000
   headers:
     X-Content-Type-Options: [nosniff]
+  tls:
+    certificate: /etc/docker/certs/cert.pem
+    key: /etc/docker/certs/key.pem
At this point, let’s start the Registry and try pulling the Alpine image previously pushed. It should fail doing the verification as we are using a self-signed certificate.
$ docker-compose up -d

$ docker pull 192.168.0.42/alpine
Error response from daemon: Get https://192.168.0.42/v2/: x509: certificate signed by unknown authority
Let’s fix that by telling Docker that our self-signed
certificate is OK. We have to install the Certificate Authority (CA) root
certificate in the Docker client. If you’re using a domain name, replace
192.168.0.42 by it.
$ sudo mkdir -p /etc/docker/certs.d/192.168.0.42
$ sudo cp certs/ca.pem /etc/docker/certs.d/192.168.0.42/ca.crt

$ docker pull 192.168.0.42/alpine
...
Status: Downloaded newer image for 192.168.0.42/alpine:latest
At this point, the traffic between the registry and the docker client is encrypted but anyone can still read from it. We need an authentication mechanism.
Authentication using Client Certificates
The Docker registry supports client certificates, which is awesome! The Registry can restrict TLS connections to certificates that were signed by a given list of Certificate Authorities. This is a stronger kind of authentication than using a username and password combination.
The Registry need this little change in its configuration to activate the client certificates authorities.
 http:
   addr: :5000
   headers:
     X-Content-Type-Options: [nosniff]
   tls:
     certificate: /etc/docker/certs/cert.pem
     key: /etc/docker/certs/key.pem
+    clientcas:
+    - /etc/docker/certs/ca.pem
Let’s restart the Registry and observe that it fails, as expected.
$ docker-compose up -d

$ docker pull 192.168.0.42/alpine
Error response from daemon: Get https://192.168.0.42/v2/: remote error: tls: bad certificate
The final step is to create our client certificate and sign it with our Certificate Authority.
# Generate client key and csr (certificate signing request)
$ openssl genrsa -out client.key 2048

$ openssl req -new -key client.key -out client.csr

# Sign it with our CA
$ openssl x509 \
        -req -days 90 \
        -CA certs/ca.pem \
        -CAkey certs/ca-key.pem \
        -CAcreateserial \
        -CAserial serial \
        -in client.csr \
        -out client.cert

$ openssl verify \
        -verbose \
        -CAfile certs/ca.pem \
        client.cert

client.cert: OK
Install our freshly created client certificates into Docker, and try pulling our Alpine image.
$ sudo cp client.cert /etc/docker/certs.d/192.168.0.42/client.cert
$ sudo cp client.key /etc/docker/certs.d/192.168.0.42/client.key

$ docker pull 192.168.0.42/alpine
Status: Image is up to date for 192.168.0.42/alpine:latest
Congratulations, you’ve achieved a good step towards managing your infrastructure with containers.
Conclusion
A private Docker Registry becomes a vital part of a Containers based infrastructure. Having it in the same data center as your machines will drastically speed up pulling images. When doing so, make sure all your containers are safely protected and that communication channels are strongly encrypted.