---
title: "Configuration management: a Spring Boot use-case with Kubernetes"
description: "Let's explore the many options Kubernetes offers to configure the scheduled containers, and employ a simple Spring Boot application as a use-case."
date: 2019-03-05
author: "Nicolas Fränkel"
tags: ["kubernetes"]
url: https://www.exoscale.com/blog/configuration-management-kubernetes-spring-boot/
---
# Configuration management: a Spring Boot use-case with Kubernetes

**Quick summary of this article**
- Kubernetes enables multiple configuration methods but application immutability complicates environment specific settings.
- Spring Boot profiles are convenient but require rebuilding images for every new environment.
- Environment variables and ConfigMaps externalize settings but risk mismatched or unversioned configurations.
- Using initContainers with a shared volume allows git versioned configuration without modifying application images.
- Parameterizing init commands via ConfigMaps simplifies environment and version changes without pod image rebuilds.
Configuration management is one of the lesser known and most undervalued areas in software.
It addresses state sync across multiple machines - and eventually multi-cloud setups. This way, two machines are really "the same" and you can treat them as cattle, not pets. Additionally, this works down from the machine, up to every application, via the OS layer.
We will focus on the _software_ part of configuration management, exploring the many options Kubernetes offers to configure the scheduled containers, and using a simple Spring Boot application as a use-case.
## A brief history of Configuration Management
Traditionally, software deployment has always been a manual process:
one would follow a lengthy and in general quite complex set of instructions to install it or update it.
Those instructions were not meant to explain anything, they were just commands for the reader to type.
Sometimes, if you were lucky enough, the instructions contained notes about what could go wrong, and perhaps also the way to fix it.
The entire process has been the cause of a lot of issues: it was too easy to mistype an instruction, and once you started diverging from the standard path, deep understanding of the underlying process was required to get back on track.
The natural step to improve the situation has been to create scripts to handle the install/update process. Those could be bash scripts, Python or whatever stack the people in charge were comfortable with.
This removed any chance of typos, and more often than none, scripts also handled the error paths.
Those scripts were not enough to make the process scalable tough. On systems running dozens of servers, how do you make sure no server had been forgotten during your deploy or update?
The potential risk of having machines out of sync is more than real and could create several issues later on. This is where modern tools such as Puppet and Chef (among others) came in, allowing you to describe and catalog trough declaration files the state of the systems, and ensuring no machine is left behind.
But in the Kubernetes world a lot of those tools and features become much less interesting at best, or completely useless at worst.
While today we can use different tools to install the cluster itself _e.g._ Terraform, applications now follow a completely different paradigm. For example, Kubernetes allows us to deploy containers, which enforces immutability.
This poses some new challenges. As best practice, artifacts must be immutable between environments, but despite the application logic being exactly the same, some configurations may obviously need to differ. To make an example the database is probably not the same in development and production, and there must be a way for the application to get the proper URL for the current environment.
## A practical example of software configuration management with Spring Boot profiles
As soon as more than one environment is available, there are high risks to do mistakes related to this multiplicity, _e.g._ deleting accounts for a test campaign in staging, and realizing it was production just afterwards.
Unfortunately, it's bound to happen at some point or another.
To showcase an example of configuration management we are going to implement a common strategy to decrease the chance of making such errors.
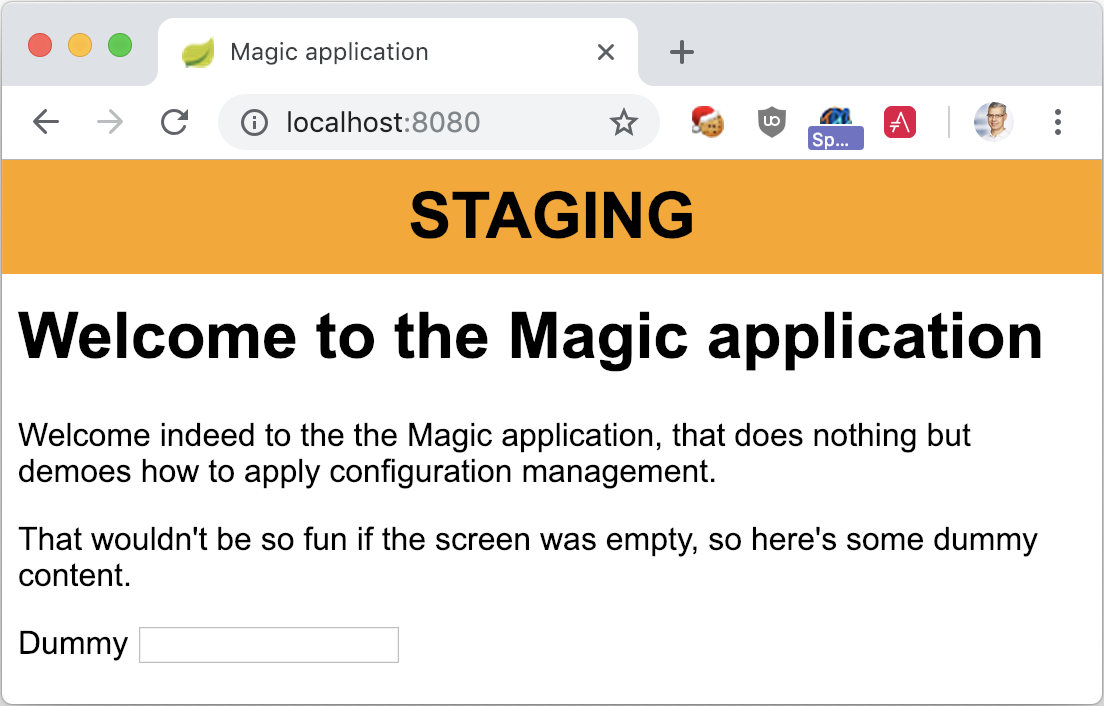
We will implement a colored banner at the top of every application page except for production, stating the environment in bold letters _e.g._ "DEV", "STAGING", "TRAINING", etc.
The color at the top will also be different, green for development, orange for stating, etc. and coherent across the entire application portfolio.
This is a classic example of software configuration management:
parameters whose value change depending on the environment, and are used by the application.
With a Spring Boot application as an example, we will go through options brought by Kubernetes to implement this requirement.
### Configuration management trough Spring Boot profiles
If you're already developing on Spring Boot, chances are you already are familiar with profiles.
In short, profiles are configuration snippets that are embedded in the application and can be activated via the command line at launch time.
One way to implement the requirement with profiles would be to create one profile per environment, and then activate the profile with Kubernetes on a per-environment basis.
Let's do that.
The first step is to create the profiles.
In order to keep this simple, I'll create only two profiles, but of course more could be created if the need be.
The `dev` profile is located in `src/main/resources/application-dev.yml`
app:
env:
label: Development
color: yellow
The `stg` profile is located in `src/main/resources/application-stg.yml`
app:
env:
label: Staging
color: orange
To get values, there are several ways:
1. Inject an `Environment` and call the `getProperty()` method with the relevant key:
@Controller
public class WelcomeController {
private final Environment env;
public WelcomeController(Environment env) {
this.env = env;
}
@GetMapping("/")
public String welcome(Model model) {
model.addAttribute("label", env.getProperty("app.env.label"));
model.addAttribute("color", env.getProperty("app.env.color"));
return "welcome";
}
}
The downside of this approach is that the whole environment is injected.
One needs to get the value from the key, and it defeats the whole purpose of dependency injection.
2. To correctly implement dependency injection, an alternative is to use the `@Value` annotation on a field.
It will be injected with the correct value at runtime.
@Controller
public class WelcomeController {
@Value("${app.env.label}")
private String label;
@Value("${app.env.color}")
private String color;
@GetMapping("/")
public String welcome(Model model) {
model.addAttribute("label", label);
model.addAttribute("color", color);
return "welcome";
}
}
The issue of this approach is that it can quickly become unwieldy as the number of fields increase.
For the sake of Object Oriented Programming, it would be better to handle a configuration object.
3. Last but not least, one can create a dedicated class _e.g._ `ApplicationEnvironmentProperties`, and let Spring Boot fill its values with those set in the profile.
This is the most verbose option, but this is the cleanest way when more than one parameter is necessary.
@ConfigurationProperties("app")
@Component
public class ApplicationEnvironmentProperties {
private final Env env = new Env();
public Env getEnv() {
return env;
}
public static class Env {
private String label;
private String color;
public String getColor() {
return color;
}
public String getLabel() {
return label;
}
public void setColor(String color) {
this.color = color;
}
public void setLabel(String label) {
this.label = label;
}
}
}
@Controller
public class WelcomeController {
private final ApplicationEnvironmentProperties props;
public WelcomeController(ApplicationEnvironmentProperties props) {
this.props = props;
}
@GetMapping("/")
public String welcome(Model model) {
model.addAttribute("label", props.getEnv().getLabel());
model.addAttribute("color", props.getEnv().getColor());
return "welcome";
}
}
To launch the application with a specific profile activated, just add the `--spring.profiles.active=xxx` option on the command-line _e.g._:
$java -jar target/demo-0.0.1-SNAPSHOT.jar --spring.profiles.active=stg
### Containerize the Spring Boot application
The logical next step is to deliver the application through an image.
Because the application is a standard Spring Boot project, I elected to use the [Jib Maven plugin](https://github.com/GoogleContainerTools/jib/blob/master/jib-maven-plugin/README.md) instead of creating a dedicated Dockerfile.
For most Java projects, this approach is faster to implement - just a quick configuration in the POM.
Moreover, since Jib uses distroless parent images, the resulting Docker image is smaller.
The Maven configuration is pretty straightforward:
com.google.cloud.tools
jib-maven-plugin
0.10.1
nfrankel/configmgmt:${project.version}
true
This snippet configures the created image so that:
1. The image version is synchronized with the one in the POM, instead of the default `latest`
2. The timestamp is kept, in order to find the image more easily.
The default is to remove the timestamp, which buries the image at the bottom of the output of `docker images`.
Jib allows not only to generate the Docker image, but also to push it in a remote registry, and send it to the Docker daemon as well.
The plugin provides two goals for that, `build` to push and `dockerBuild` to send to the daemon.
Because the usage can be quite cumbersome _e.g._ `mvn package com.google.cloud.tools:jib-maven-plugin:dockerBuild`, it's advised to create Maven profiles:
daemon
com.google.cloud.tools
jib-maven-plugin
docker-daemon
package
dockerBuild
With that configuration, it's easier to trigger Jib:
$ mvn package -Pdaemon
When the image is available locally, it's possible to run it and get the Spring Boot app up as before:
$ docker run -p8080:8080 nfrankel/configmgmt:0.0.1-SNAPSHOT
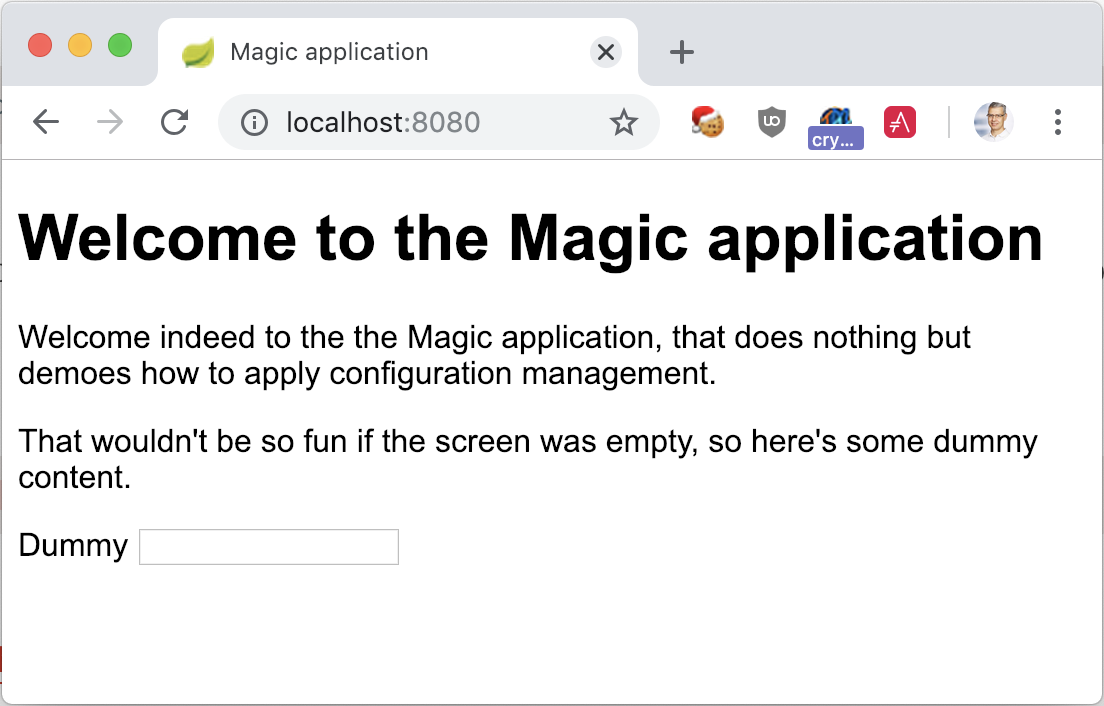
Browsing will display the basic screen.
To use the wanted profile, it's necessary to dig a bit further and check the image Jib created, especially the final entry point.
This can be achieved with `docker inspect`:
$ docker inspect nfrankel/configmgmt:0.0.1-SNAPSHOT
...
"Entrypoint": [
"java",
"-cp",
"/app/resources:/app/classes:/app/libs/*",
"com.exoscale.configmgmt.demo.DemoApplication"
],
...
Remember that the entry point is basically baked into the image, while arguments can be overwritten - and will be appended to the entry point.
Hence, just append the relevant arguments and they will either be used as is, or overwrite existing ones, which is not the case here.
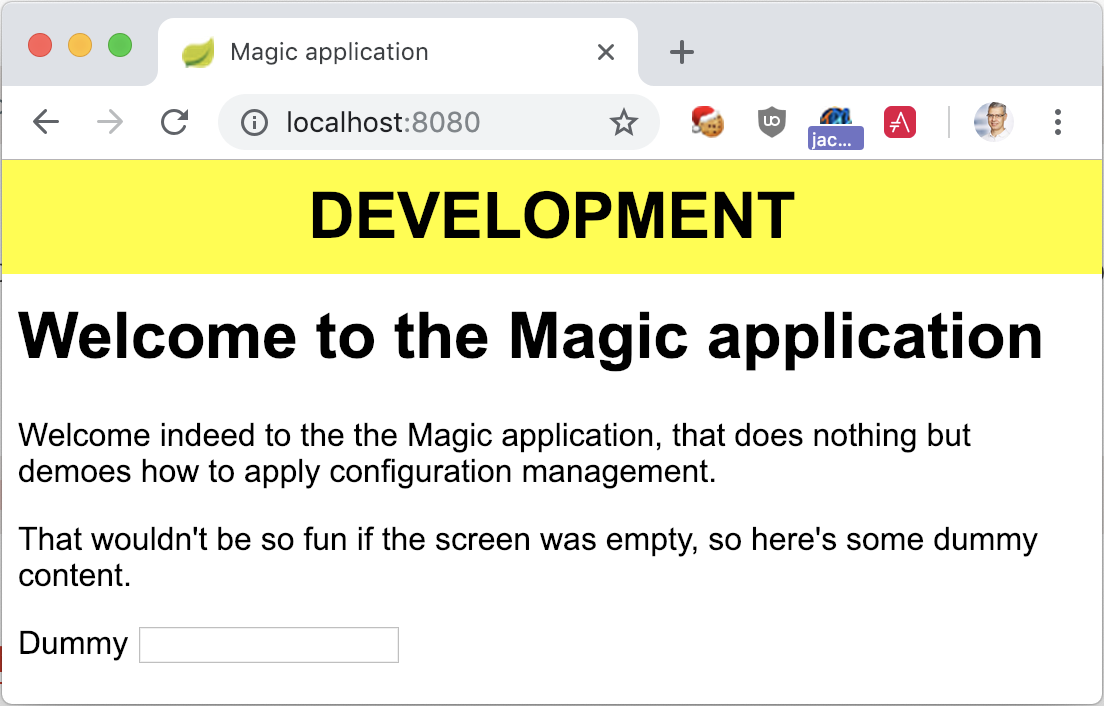
To activate a profile _e.g._ `dev`, :
$ docker run -p8080:8080 nfrankel/configmgmt:0.0.1-SNAPSHOT --spring.profiles.active=dev
## Configuration management options with Kubernetes
Let's deploy the Docker image created above in a Kubernetes cluster.
Any Kubernetes cluster will do, but to avoid any noise in the setup, I'll use [minikube](https://minikube.sigs.k8s.io/docs/start/).
$ eval $(minikube docker-env)
At the simplest level, deploying the Spring Boot image requires only to specify two components:
the app deployment itself and a service to access it.
The deployment section looks like the following:
apiVersion: apps/v1
kind: Deployment
metadata:
name: config-mgmt-deploy
labels:
app: config-mgmt
spec:
replicas: 1
selector:
matchLabels:
app: config-mgmt
template:
metadata:
labels:
app: config-mgmt
spec:
containers:
- name: config-mgmt
image: nfrankel/configmgmt:0.0.1-SNAPSHOT
ports:
- containerPort: 8080
One common mistake for Kubernetes newcomers is to stop there.
Unfortunately, the `containerPort` exposed on the last line is only accessible from inside the cluster.
As we'd like to access the application from the outside, a `Service` is necessary:
apiVersion: v1
kind: Service
metadata:
name: config-mgmt-service
spec:
selector:
app: config-mgmt
ports:
- port: 8080
nodePort: 30001
type: NodePort
This sets up a simple node port:
now, the app is accessible from the outside *on the node's IP*.
To check everything is in order:
1. Apply the previous fragments (assuming they have been concatenated into a single `1.first-deploy.yml` file):
$ kubectl apply -f 1.first-deploy.yml
2. Wait for Kubernetes to work its magic.
$ kubectl get deploy
NAME DESIRED CURRENT UP-TO-DATE AVAILABLE AGE
config-mgmt-deploy 1 1 1 1 1h
$ kubectl get service
NAME TYPE CLUSTER-IP EXTERNAL-IP PORT(S) AGE
config-mgmt-service NodePort 10.109.115.201 8080:30001/TCP 1h
kubernetes ClusterIP 10.96.0.1 443/TCP 1h
3. Get the cluster's IP:
$ minikube ip
192.168.99.100
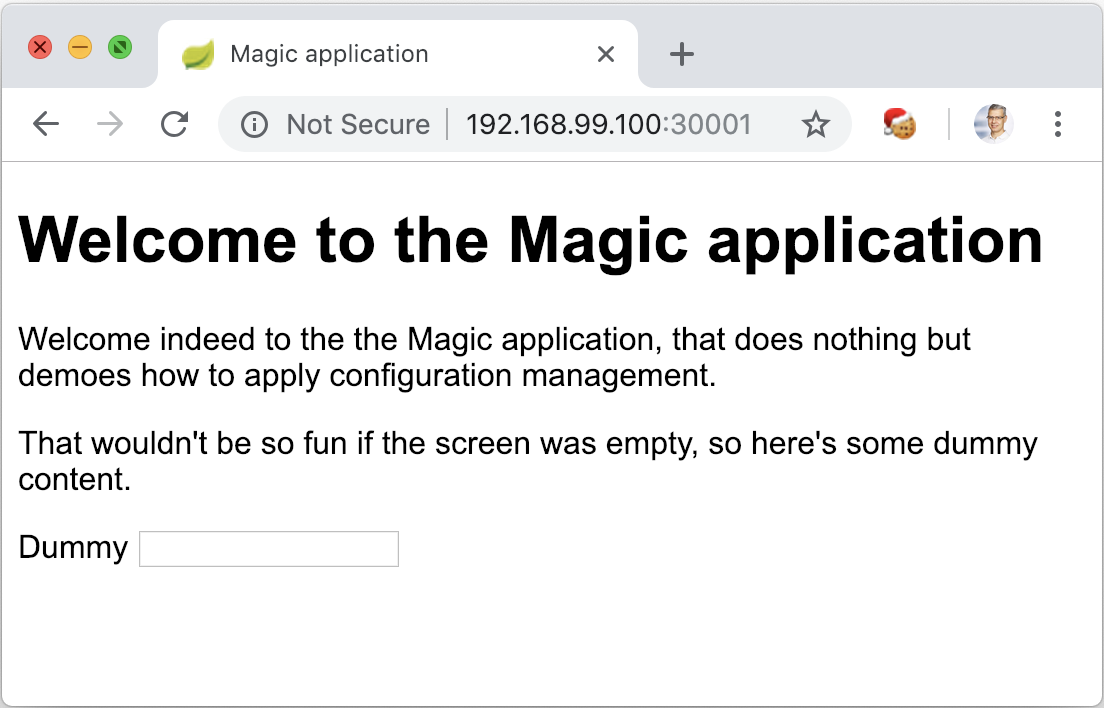
4. Finally, browse to the homepage of the deployed Spring Boot app .
This displays the "production" view, without any profile set.
To emulate the deployment of the application into a specific environment, we need to configure the profile associated with it in the Kubernetes `Deployment`.
This is straightforward:
apiVersion: apps/v1
kind: Deployment
metadata:
name: config-mgmt-deploy
labels:
app: config-mgmt
spec:
replicas: 1
selector:
matchLabels:
app: config-mgmt
template:
metadata:
labels:
app: config-mgmt
spec:
containers:
- name: config-mgmt
image: nfrankel/configmgmt:0.0.1-SNAPSHOT
args: ["--spring.profiles.active=dev"]
ports:
- containerPort: 8080
Adding an `args` attribute to the `container` will make Kubernetes run the Docker image with the configured value, exactly just as when we started it manually above.
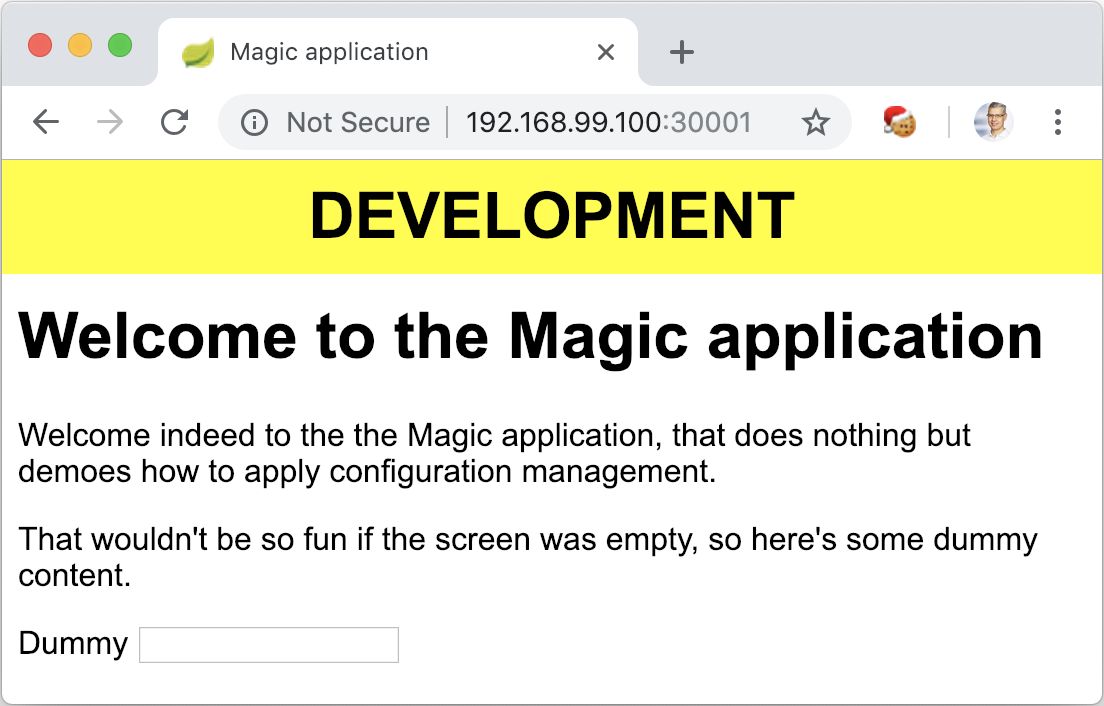
This successfully displays the application in with the "Development" banner.
While the process described above far works perfectly well, it has a huge flaw.
Imagine a new environment _e.g._ `training` pops up.
In order to display a new training banner, one must add a new profile properties file to the Spring Boot project, and re-build the Docker image.
In turn, this changes requires a version upgrade, so that this image has neither the same content, nor the same version, even though the application is exactly the same!
Obviously, embedding the profiles is not an adequate solution to store the banner's parameters.
Fortunately, Spring Boot is very liberal in how it can look up those parameters.
### Using system properties
One way to configure Spring Boot is through system properties.
In our use-case, launching the JAR with the relevant options will display the expected banner.
Let's remove embedded profiles, rebuild the application, and try that:
$ java -jar -Dapp.env.label=Development -Dapp.env.color=yellow target/demo-0.0.2-SNAPSHOT.jar
The next step is to translate that into the Kubernetes configuration.
Contrary to profiles, which are simple Java program arguments, system properties (`-D` options) must be passed **before the JAR's path**.
That means one needs not only to add `args`, but to override the whole `Entrypoint` (see above).
This is achieved with the following configuration:
apiVersion: apps/v1
kind: Deployment
metadata:
name: config-mgmt-deploy
labels:
app: config-mgmt
spec:
replicas: 1
selector:
matchLabels:
app: config-mgmt
template:
metadata:
labels:
app: config-mgmt
spec:
containers:
- name: config-mgmt
image: nfrankel/configmgmt:0.0.2-SNAPSHOT
command:
- "java"
- "-Dapp.env.label=Pre-production"
- "-Dapp.env.color=purple"
- "-cp"
- "/app/resources:/app/classes:/app/libs/*"
- "com.exoscale.configmgmt.demo.DemoApplication"
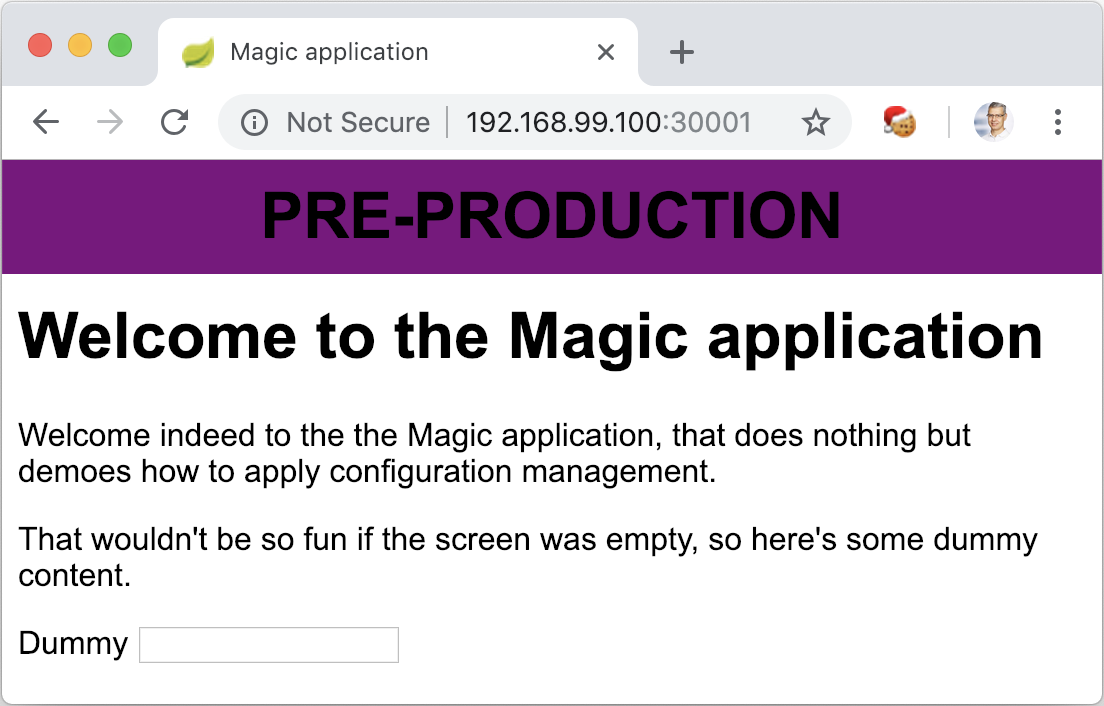
Compared to the previous situation, it's now possible to add additional environments without creating new images.
On the minus side, we had to check the command line and update it accordingly.
Getting down one level of abstraction is definitely not the best solution.
### Using environment variables
Spring also allows configuration to be passed through environment variables.
If the `app.env.label` and `Dapp.env.color` environment variables are present when the application starts, they will be used (and override internal configuration).
That's very straightforward with Kubernetes:
apiVersion: apps/v1
kind: Deployment
metadata:
name: config-mgmt-deploy
labels:
app: config-mgmt
spec:
replicas: 1
selector:
matchLabels:
app: config-mgmt
template:
metadata:
labels:
app: config-mgmt
spec:
containers:
- name: config-mgmt
image: nfrankel/configmgmt:0.0.2-SNAPSHOT
env:
- name: app.env.label
value: Training
- name: app.env.color
value: blue
This is obviously much better, but I think there's still an issue, especially from a DevOps point of view.
So far, environment parameters go in pairs: development and yellow, staging and orange, pre-production and purple, training and blue.
This solution makes it too easy to mismatch the pairs:
containers:
- name: config-mgmt
image: nfrankel/configmgmt:0.0.2-SNAPSHOT
env:
- name: app.env.label
value: Training
# Imagine a long list of other parameters
# ...
# ...
# Now, I forgot what environment I was configuring
- name: app.env.color
value: yellow #Ooops, that was supposed to be blue...
Moreover, this needs to be set on every container, and for every one of them a chance to make the above mistake.
Let's continue our journey.
### Using a dedicated configuration map
As seen from the previous section, it would be great to group associated parameters into a dedicated set of properties.
Kubernetes provides that feature with the `ConfigMap` component:
> ConfigMaps allow you to decouple configuration artifacts from image content to keep containerized applications portable.
A config map is just a named set of name-value pairs.
It's extremely easy to create one:
apiVersion: v1
kind: ConfigMap
metadata:
name: banner-config-preprod
namespace: default
data:
app.env.label: Pre-production
app.env.color: purple
In turn, ConfigMaps can be used to add to a Pod's environment variables:
kind: Deployment
metadata:
name: config-mgmt-deploy
labels:
app: config-mgmt
spec:
replicas: 1
selector:
matchLabels:
app: config-mgmt
template:
metadata:
labels:
app: config-mgmt
spec:
containers:
- name: config-mgmt
image: nfrankel/configmgmt:0.0.2-SNAPSHOT
envFrom: # <- Magic happens here
- configMapRef:
name: banner-config-preprod
ports:
- containerPort: 8080
Note that while ConfigMaps can be mounted on volumes attached to Pods, Kubernetes' handling of the structure makes it incompatible for Spring Boot applications configuration.
So far, this is a great way to handle configuration.
But how does it handle versioning?
### Using volumes
Imagine a new requirement popping-up to change the pre-production banner color from purple to red.
If it were a business requirement, it would need to be versioned, with a relevant commit message.
The exact same standard should apply to configuration changes as to code changes:
this is one of the tenants of [Infrastructure-as-Code](https://en.wikipedia.org/wiki/Infrastructure_as_code).
While there are a lot of tools dedicated to configuration management (Ansible, Puppet, Chef, etc.), it's possible to handle the versioning of this change without any additional infrastructure component with Kubernetes.
It includes two steps:
1. Getting the Git repo where the configuration is located
2. Making that repo available to the main container
To get the the Git repo, there was a dedicated `volume` type for Git repositories, `gitRepo`.
Unfortunately, this has been deprecated, and it's now necessary to do that "manually".
This is what allows [`initContainer`](https://kubernetes.io/docs/concepts/workloads/pods/init-containers/):
> Init Containers are specialized Containers that run before app Containers and can contain utilities or setup scripts not present in an app image.
I've already created a [dedicated Git repo](https://github.com/exoscale-labs/config-mgmt-properties) to store the configuration.
To clone the repo **and** checkout the `v1.0.0` tag in one command, the command-line is the following:
$ git clone --branch v1.0.0 https://github.com/exoscale-labs/config-mgmt-properties.git
That's the command that needs to be executed in the `initContainer`.
In the YAML configuration, this translates to:
initContainers:
- name: git-clone
image: alpine/git:1.0.4
command: ['/bin/sh', '-c']
args: ['git clone --branch v1.0.0 https://github.com/exoscale-labs/config-mgmt-properties.git']
The next and final step is to create a shared volume between this container and the main one.
It doesn't require any feature _e.g._ persistence, since it will be only used during the application startup:
spec:
containers:
volumes:
- name: config
emptyDir: {}
To connect the init container to the volume, the above snippet needs to be tweaked a bit:
initContainers:
- name: git-clone
image: alpine/git:1.0.4
command: ['/bin/sh', '-c']
args: ['git clone --branch v1.0.0 https://github.com/exoscale-labs/config-mgmt-properties.git && mv config-mgmt-properties/dev/* /config']
volumeMounts:
- name: config
mountPath: /config
This also moves the content of the `dev` folder to the `config` path in the shared volume.
On the main container's side:
- name: config-mgmt
image: nfrankel/configmgmt:0.0.2-SNAPSHOT
volumeMounts:
- name: config
mountPath: /config
readOnly: true
ports:
- containerPort: 8080
Because Spring Boot apps browse the `config` folder for configuration files by default, no further configuration is required.
When Kubernetes executes the deploy:
* it runs the `git-clone` init container
In turn:
* it clones the remote repo
* and moves the `dev` folder content to the `config` file
* it starts the `config-mgmt` container that launches the Spring Boot app.
At this point, the framework reads the `config` folder for configuration files.
### Parameterizing the command-line
While the above configuration snippet achieves everything that was required so far, there's still one thing left that might be improved:
it's not easy to locate the places to change either the environment or the version in the whole command.
The good thing is that it doesn't require anything new.
Let's just add a `ConfigMap` and update the command to make use of it:
apiVersion: v1
kind: ConfigMap
metadata:
name: clone-props
namespace: default
data:
props.version: v1.0.0 # 1
props.env: stg # 2
---
spec:
replicas: 1
selector:
matchLabels:
app: config-mgmt
template:
metadata:
labels:
app: config-mgmt
spec:
containers:
initContainers:
- name: git-clone
image: alpine/git:1.0.4
command: ['/bin/sh', '-c']
args: ['git clone --branch $(props.version) https://github.com/exoscale-labs/config-mgmt-properties.git && mv config-mgmt-properties/$(props.env)/* /config'] # 3
volumeMounts:
- name: config
mountPath: /config
envFrom:
- configMapRef:
name: clone-props
volumes:
- name: config
emptyDir: {}
1. Create a `props.version` key
2. Create a `props.env` key
3. Use them in the command-line
At this point, it's straightforward to change the version:
just update the property's value, and delete the pod.
Kubernetes will start it again, with the updated config map.
## Conclusion
Kubernets provides different ways to pass configuration parameters to Dockerized applications.
Spring Boot is a powerful framework built on top of the Spring that is able to use any of those configuration options.
We described how to do that with profiles, with command-line parameters, with environment variables, with config maps, and with shared volumes.
To sum it up:
| | Pro | Con |
|-------------------------|------------------------|------------------------------------------------------------------------------|
| Profiles | Spring native | A new environment requires updating the application and rebuilding the image |
| Command-line parameters | Externalized | Need to override the Docker image entry-point |
| Environment variables | Easy to setup | Not consistent across related key-value pairs |
| Config map | Kubernetes native | No versioning |
| Shared volumes with Git | The best money can buy | Complex setup |
The complete source code for this post is available on [Github](https://github.com/exoscale-labs/config-mgmt-springboot-kubernetes).
## References
For your convenience, here are some pointers to the documentation used in the post:
* [Spring Boot externalized configuration](https://docs.spring.io/spring-boot/docs/2.1.x/reference/html/boot-features-external-config.html)
* [Jib, containerize your Java application](https://github.com/GoogleContainerTools/jib/)
* [Init Containers](https://kubernetes.io/docs/concepts/workloads/pods/init-containers/)
* [Communicate Between Containers in the Same Pod Using a Shared Volume](https://kubernetes.io/docs/tasks/access-application-cluster/communicate-containers-same-pod-shared-volume/)